How to Open Glass Diffuser Bottles to Refill: Step-by-Step Guide
Refilling a glass diffuser bottle is a smart way to reduce waste, save money, and enjoy your favorite scent for longer. Unlike simply replacing spent diffuser oil or reeds, properly opening a glass diffuser bottle and refilling it requires the right technique, tools, and care, whether your diffuser has a cork, plastic stopper, or screw cap.
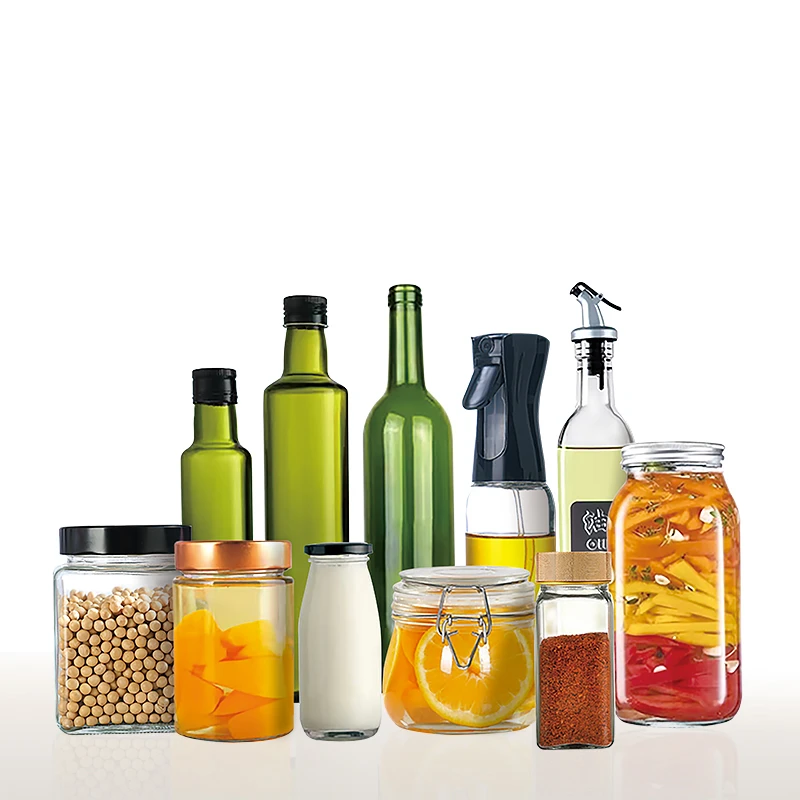
Understanding Different Types of Glass Diffuser Bottles
There are many different designs and closure techniques for glass diffuser bottles. Identifying your diffuser bottle type is the first step in determining how to open it for a refill.
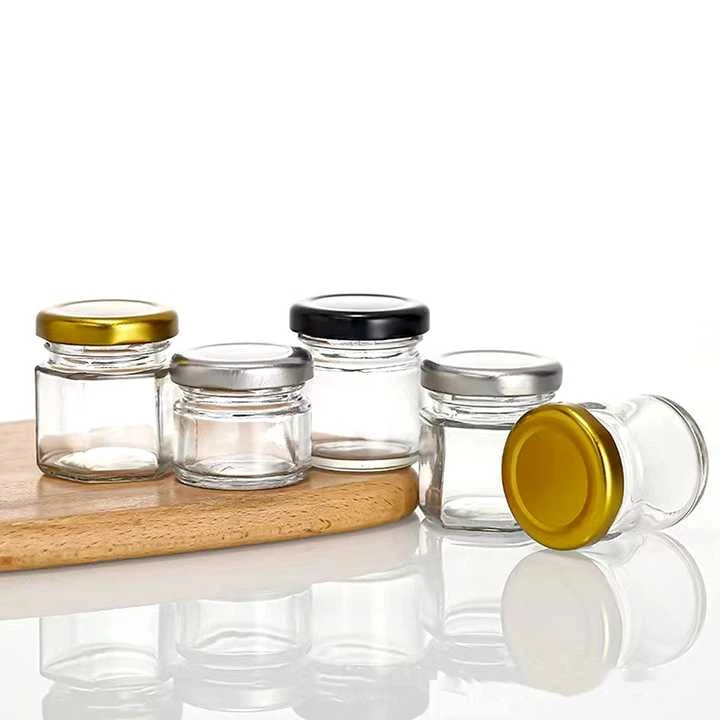
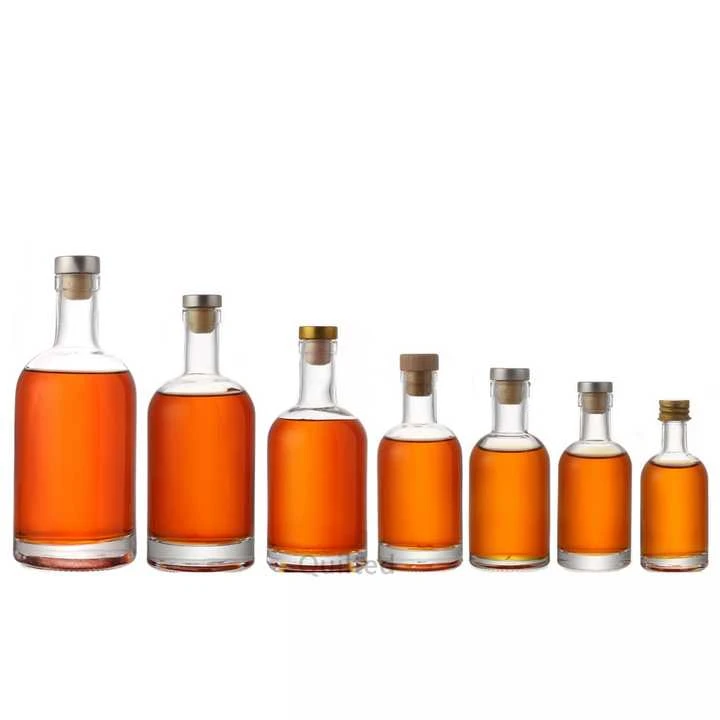
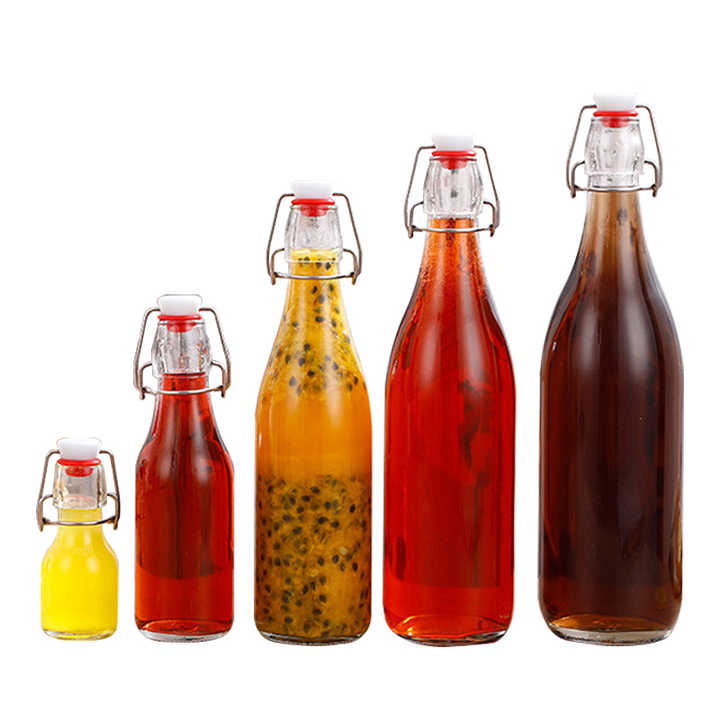
Reed Diffuser Bottle with a Cork
Many classic reed diffusers use a cork stopper that seals the aromatic oil inside a decorative glass bottle. This cork can be a plain wood or synthetic cork and may fit snugly into the neck of the bottle. Knowing you have a cork-style closure helps you prepare to remove it without damaging the bottle or cork.
Screw-Cap Glass Diffuser Bottle
Some modern glass diffusers use a screw cap similar to what you find on essential oil bottles. These twist on and off, making them easier to open and refill, especially compared with glued-in stoppers.
Plastic Stopper or Plug Diffuser Bottle
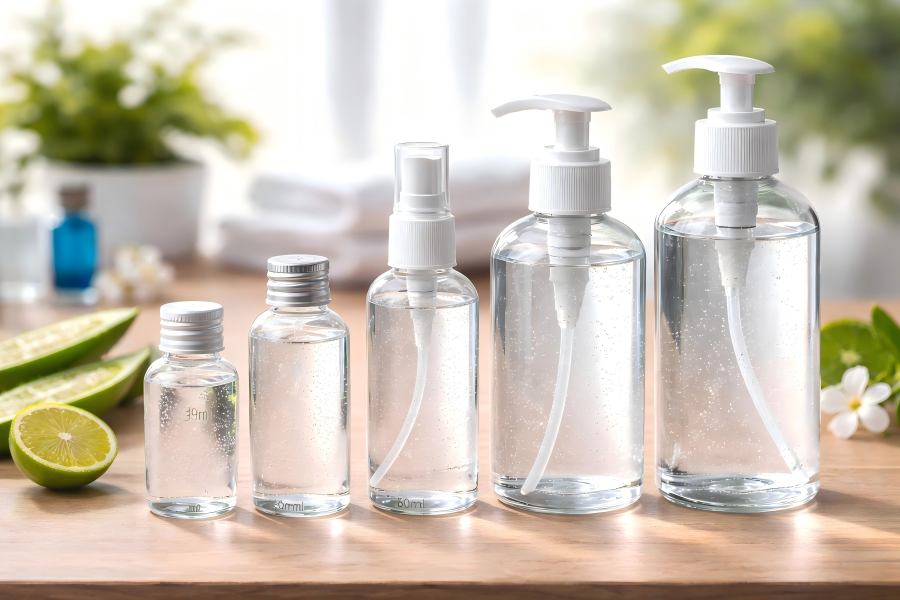
Certain glass diffuser bottles are sealed with a plastic plug or stopper. These plugs are often tightly fitted to prevent leakage and can be tricky to remove without the right technique. This style is common in smaller bottles and travel-sized diffusers.
Orifice-Reducer Bottles
Some bottles include an orifice reducer — a small insert that restricts the opening to control how much liquid is dispensed or absorbed by reeds. Removing or working around this reducer is an added step during opening and refilling.
Tools and Materials Needed

Before you begin the process of opening and refilling a glass diffuser bottle, gather these essential tools to make the task easier, safer, and more efficient:
- Protective Gloves: Shields hands from oils and potential cuts if glass slips.
- Soft Cloth or Towel: Helps with grip and protects the bottle surface.
- Small Flat Tool: A flathead screwdriver, butter knife, or thin prying tool helps lift corks or plastic stoppers gently.
- Pipette or Syringe: Allows precise transfer of liquid into bottles with narrow openings.
- Small Funnel: Useful for filling bottles with wider necks without spilling.
- Rubber Grip or Jar Opener Pad: Improves grip for screw caps.
- Paper Towels: For cleanup of spills or excess oil.
Preparing these materials ahead of time will expedite the procedure and lessen annoyance.
Step-by-Step Guide: Opening Glass Diffuser Bottles
Every closure type requires a slightly different opening method. The following instructions help you open each type of diffuser bottle safely and effectively.
For Corked Bottles
Corked bottles are a classic design but can be stubborn when new or tightly sealed.
Step 1: Secure Your Bottle
Set the glass diffuser down on a level, sturdy surface. To preserve and enhance grip, wrap a soft fabric over the bottle’s body.
Step 2: Gently Twist and Pull
With one hand holding the bottle steady, grasp the cork firmly with your other hand. Slowly twist and pull upward. If the cork resists, stop and try the next step.
Step 3: Use a Flat Tool to Loosen
Slide a thin flat tool (like a flathead screwdriver or butter knife) gently between the cork and the glass neck. Work the tool around the perimeter to loosen the cork a bit at a time, then tug upward.
Step 4: Remove the Cork
Once loosened sufficiently, pull the cork out with your fingers or with a gentle twist using your tool as leverage. Be careful to avoid dropping the cork into the bottle as that could contaminate your diffuser oil.
This method ensures a cork is removed intact and without cracking the glass.
For Screw-Cap Bottles
Screw caps are simpler to open but sometimes tight from the manufacturer.
Step 1: Grip and Twist
Wrap a rubber grip or jar opener pad around the screw cap. Hold the bottle body with your non-dominant hand and turn the cap counterclockwise with your dominant hand.
Step 2: Ease Open
Once loosened, lift the cap straight up. If there is a secondary stopper or reducer inside, remove that next by pulling it out carefully.
Screw caps are usually the easiest closure to open and refill.
For Bottles with Plastic Stoppers
Plastic stoppers are common and can be quite snug.
Step 1: Hold the Bottle Steady
Wrap the bottle with a cloth for protection. Grip the plastic stopper with your fingers or a rubber sheet to help prevent slipping.
Step 2: Pry Carefully
Insert the tip of a flat tool between the glass lip and the plastic stopper. To start raising the stopper, gently rock the tool back and forth. Continue working around until the stopper pops free. Be patient—forcing it straight up can break the glass.
Step 3: Remove the Stopper
Once loose, lift the stopper away from the bottle. Place it somewhere clean if you plan to reuse it.
This gradual prying method helps avoid cracking either the glass or stopper.
For Bottles with Orifice Reducers
Orifice reducers control flow but are not meant to seal like corks or stoppers.
Step 1: Grip the Reducer Carefully
Use one hand to firmly grasp the bottle. Using tweezers or your fingers, grasp the orifice reducer.
Step 2: Pull Upward
Gently pull the reducer straight up. If the reducer resists, wiggle it slightly back and forth while pulling.
Step 3: Set Aside Safely
Place the reducer on a clean surface so it does not get lost during refilling.
These reducers are often just friction-fitted and come out easily once gently coaxed.
How to Refill Your Glass Diffuser Bottle
Once the bottle is open, the next phase is refilling it with your chosen oil or fragrance.
Preparing the Refill Oil
Choose a high-quality diffuser oil or essential oil blend suited to your bottle size. If you are using a homemade blend, ensure it is well mixed. Keep your workspace covered with paper towels to catch any accidental droplets.
Adding the Liquid
The method you use depends on the opening size:
- With a Funnel: Place a small funnel at the bottle mouth and slowly pour the fragrance oil in. Stop before the liquid reaches the top to leave space for reeds or a stopper.
- With a Pipette or Syringe: For narrow openings, draw the oil into the pipette or syringe and dispense it slowly into the bottle. This approach minimizes spills and allows precise control.
Work slowly and avoid splashing oil on the bottle sides as that can reduce scent dispersion and create a mess.
Inserting Reeds or Diffuser Mechanisms
If you have reeds, clean them before use, then insert them into the bottle. Let the reeds soak for a few minutes, then flip them so the saturated ends extend outward. This helps the scent travel more effectively.
For bottles designed for ultrasonic diffusers or electric diffusers with glass reservoirs, fill to the indicated level only.
Closing and Sealing the Bottle

After refilling, you’ll want to close the bottle to prevent spills and preserve the fragrance quality.
- Corked Bottles: Reinsert the cork gently, pushing it straight down until snug.
- Screw-Cap Bottles: Don’t overtighten; instead, align threads and twist clockwise until secure.
- Plastic Stoppers: Press the stopper back in firmly but carefully to avoid cracking either stopper or neck.
- Orifice Reducers: Place the reducer back into the neck until it’s flush with the bottle opening.
A proper seal ensures longevity, minimizes evaporation, and keeps your fragrance potent.
Tips for Best Results
- Perform refilling on a stable, flat surface.
- Clean any spills promptly with paper towels.
- Avoid contaminating your fragrance by using clean tools.
- Use bottles with wider openings for easier refilling.
- Label bottles if using custom blends so you remember their contents.
Taking these extra steps helps extend both the life of your diffuser and the quality of its scent.
Maintenance and Care
Maintaining your diffuser ensures long-term enjoyment:
- Regularly flip reeds to refresh scent intensity.
- Reeds can get saturated with grime and should be replaced every few months.
- Clean bottles periodically with warm, soapy water, especially before switching fragrances.
- Store extra oils in cool, dark places to preserve potency.
Proper care increases the efficiency of your diffuser and keeps your space smelling delightful.


